


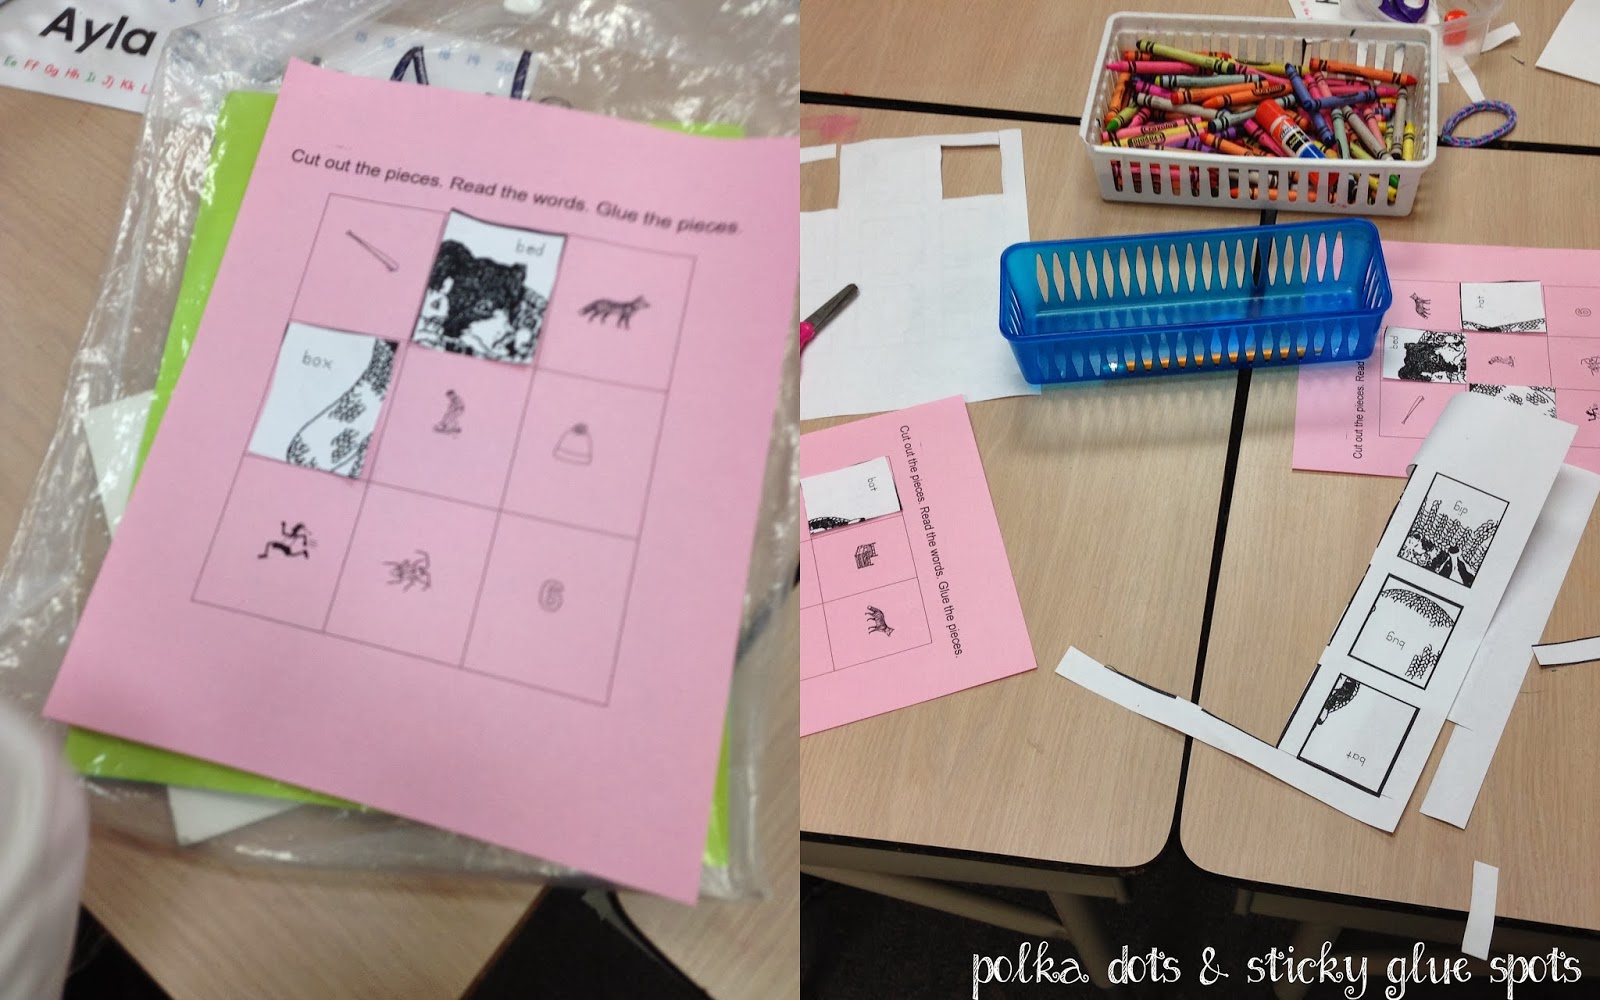
I have no idea where this originally came from, it's a hard copy activity I got from my friend my first year of kindergarten. It's a CVC activity. The kids read the words on the the white and match them to the picture on the left. Once all pieces are glued in place, it makes a picture of the animals in the mitten.
On Friday, we voted on if we thought the groundhog would see his shadow or not and graphed the data. I am not doing so hot the last few days on taking pictures of the students working ,but here is our graph. Turns out, the majority of them were correct...6 more weeks of winter. I apologize to those who are hit hard with snow and are over the cold. On the other hand, today had a chill in the air and it was nice to not be able to wear shorts. :)

Nothing Fancy. :)
Many of my kiddos understand the idea of subtraction but we need more practice remembering to use the minus sign and that the large number goes on top. We practiced addition so much and the majority of my kiddos can do their facts fluently (to 5) that getting them to change their thinking to subtraction is taking some time.
We used dotters the other day. I had the kids fold their papers (into fourths) and they wrote the equation I said out loud. Using our dotters, we dotted the first number and then cross out the minuend. (I think that's the correct term) :). My littles love all things dotters.
Today, we used mini dominoes (I *think* I found at the dollar store a while back). I created this fun little page (again, nothing fancy but it gets the job done). We did this all together. We pulled a domino, determined the larger number, put it on top, put the smaller number on bottom and wrote the minus sign and the equal sign. My kiddos need practice working on math equations that go vertical. After this, I had spread crumpled paper around the room (that had subtraction problems on it). Each kinder picked up 7 and solved them. Then they glued their snowball to the area on the chart it belonged (according to the difference). Some of my kiddos glued them on in wrong places and we discussed why it didn't belong. Next time I do this, I will put each answer on a different sheet of butcher paper, or get a larger piece.
Domino Subtraction
Subtraction Facts horizontal (cut into fourths)
Subtraction Facts vertical (cut into fourths)

Didn't snap a picture of the final product (which is probably a good thing seeing as it looks a hot mess) BUT the kids had a blast and did math, so all is good.
My first year in kindergarten I was so blessed to teach across the hall from who is now my wonderful friend. She was amazing and I learned so much from her (especially having come from 4th grade...first grade before that). She was amazing and shared all sorts of awesome things with me. One thing she shared was the pattern for a really cute heart bag. Well, let me tell you, they are so cute, that I have had my kiddos create them every year since. I found the bag to always overflow and I finally had a chance to make the sides of the bag larger. She told me I could share the pattern (yay). So click on the picture below and it will take you to the pieces. You need two hearts for each child, one of the pages with wide pieces and half of the skinny page. So once all is cut out and set to "sew" each child will have two hearts, two wide pieces (hole-punched) and two thin pieces. Once my kiddos start sewing, I will share pictures of how to assemble.

Whew! It is nice to be caught up a bit (for a millisecond at least. :) ) but I better head to bed for another day with my kinders!
No comments:
Post a Comment